

I LOVE getting Christmas cards!
I love seeing how everyone's families are growing and how everyone is doing.
But every year, I run into the problem of "where to put them..."
They take over my counter, my fridge, and my whole kitchen.
This year I decided to make a Christmas Card Hanger:

1. We started with a piece of leftover wood that we had that was 3 1/4 X 22 inches.
2. I painted it brown first, then green.
3. Then we distressed it.
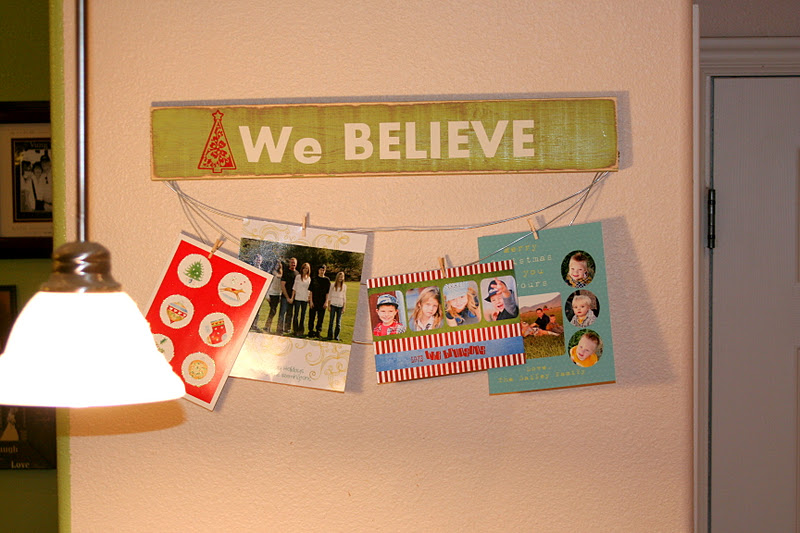
5. Next I stenciled on the letters and the tree. If you don't have a silhouette, or a cricut, you can just use stencil letters from the craft store. Easier yet, try vinyl lettering :) I was making this project at 1 a.m. and was wishing for vinyl lettering because it's so fast and easy. LOL.

7. Next we wrapped the wire through the bottom holes, and out the side holes. Then we just folded it back behind the sign so the ends didn't stick out. This way we don't have to worry about our wire falling out. Then we attached a sawtooth hanger to the back.

9. I used little tiny clothes pins from Wal-mart to hang my Christmas cards up.

What do you do with all of your Christmas cards?
I have a friend who hangs them on her Christmas tree...I thought that was pretty creative too :)


This is definitely adorable!
ReplyDeleteGreat idea for hanging cards! I'm definitely in need of a way to hang my cards!
ReplyDelete