

Every week, Bridger and I go to "field trip Fridays".
A group of moms in my neighborhood get together every Friday to do an activity that represents a letter.
Each week, we talk about the letter with our kids, and then do an activity to represent that letter.
For example, we went to a FARM for the letter "F".
And last week, we went to the apple ORCHARD for the letter "O".
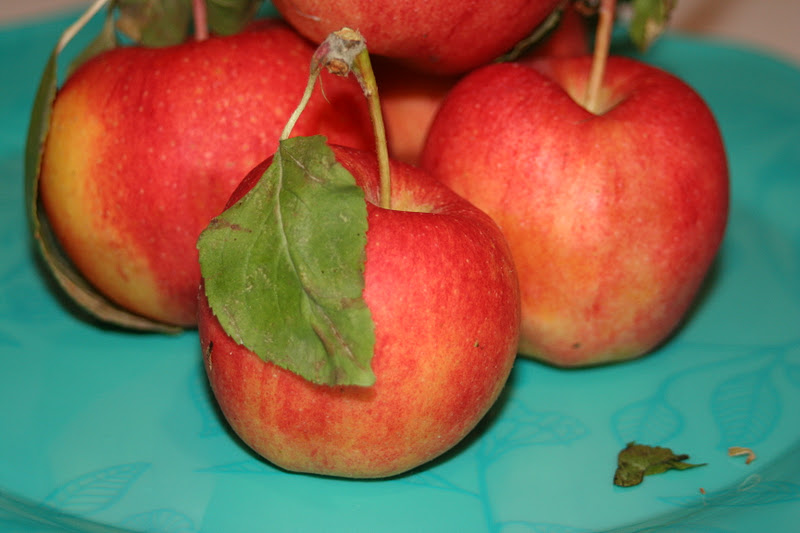
Bridger and I had so much fun learning about apple orchards.
The farmer let Bridger take a bag and pick some of the little apples that were left on the trees.
They were the small, lumpy, ones, but they were perfect for Bridger.
Even Dalton got to pick an apple and eat it :)
He also showed us how to make apple juice, how to store and sort apples, and even talked about the different kinds of apples.
The farmer even let the kids ride in his apple crate :)

Since we had all of these little, tiny apples, we decided to make caramel apples.
Most of the recipes that I found for homemade caramel were exactly the same.
This is the one that I used though:
1 stick of butter
2 cups of brown sugar
1 cup of corn syrup
1 can of sweetened condensed milk
1 tsp. vanilla
First, wash the apples really well. I washed them in hot water and scrubbed them a little to roughen them up so that the caramel will stick. Then I dried them and put a craft stick in each one.
Next, melt the butter in pan, and then add the sugar, corn syrup, and milk. Stir constantly for about 30 minutes until it reaches 248 degrees.
Then, I let the caramel cool for a few minutes. I read somewhere that it works better with slightly cool caramel.
Next, dip each apple in the caramel and hold it up and let the excess caramel run off. Then place it on a sheet of wax paper. I dipped the bottom of each apple in either crushed Oreos or crushed Butterfinger. That way it didn't stick to the wax paper. Then I stuck them in the fridge to harden up and keep the apples cool. The great thing about homemade caramel is that it doesn't get crunchy in the fridge. It stayed nice and soft and chewy.

Last comes the fun part:
DECORATING! :)
We made a Jack-O-Lantern face, a ghost, a Frankenstein, etc.
I let my kids come up with the ideas :)


Here's baby cakes helping himself to his own caramel apple:

And Saxon finishing off his:

Nothing says "fall" like homemade CARAMEL APPLES!


YUM! mine didn't turn out so well...maybe the store bought caramels aren't a good idea...maybe homemade is the way to go? Save me one :) lol
ReplyDeleteThese look awesome! Thanks for sharing.
ReplyDeleteI am a new follower and would be honored if you followed back!
Melanie
bearrabbitbear.blogspot.com
These look sooo good! Can't wait to try making them this year! Thanks for sharing!
ReplyDeletemmmmmmm, i'm stopping over from tip junkie and would love to have you stop by my blog and check out our huge giveaway going on- http://thelovelypoppy.blogspot.com/2011/10/blog-follower-giveaway.html xoxo nicole
ReplyDelete